Go back![hyperPad tutorial]()
Importing Your Assets
Let's jump right into it! We allow you to import a wide variety of assets. This part will help you get a better understanding of the supported formats, specifications, and the different types of assets.
Various assets and formats are supported: you can import individual images and animation frames, complete sprite sheets, fonts, particles, sounds, and music into hyperPad.
hyperPad supports all the standard image formats that your iPad supports. You can even import images with transparent elements.
For best results you should use PNG files, as they support transparency and are a lossless format. Image types like JPG don’t support any transparency and are compressed which results in a lower image quality.

When creating your graphics you should make sure everything fits within the iPads screen size.
There are 2 resolutions for the iPad, 1024×768 for regular devices and 2048×1536 for retina devices. You should always try to create the graphics for the highest resolution supported as hyperPad will automatically create non retina versions for you. So when creating graphics and illustrations for your projects you should make sure your artwork is designed for 2048x1536 resolution.
Also keep in mind that the maximum image size that can be imported is 2048×2048 pixels.
If you’re working with animations, make sure each animation frame is exactly the same resolution, and the artwork is in the exact center of image or doesn’t move around. For more info on animations, look up Animations in the help documentation.
You can import animated sprite sheets into hyperPad by linking your project with Dropbox. See "Importing Assets" for more information on linking with Dropbox.
Sprite Sheets are used to reduce memory, and increase your scenes performance. Additionally using a sprite sheet makes behaviours like "Play Animation" more convenient, since it will import all necessary frames for you.
Just like importing regular images, hyperPad will automatically create a non-retina version of your sprite sheet. So when creating your sprite sheets, make sure you create them in the highest resolution possible.
hyperPad only supports PNG sprite sheets with a maximum resolution of 2048x248 pixels.
All sprite sheets must be paired with a ".plist" meta data file sharing the same name. eg. MySpriteSheet.PNG must have MySpriteSheet.PLIST along with it. The metadata file must be formatted to standard "Cocos2D" specifications.
You can use tools like "Texture Packer" to generate a compatible sprite sheet. Any tool capable of creating a "Cocos2D" sprite sheet is compatible with hyperPad.
Custom fonts and be imported into hyperPad by linking your project with Dropbox. See "Importing Assets" for more information on linking with Dropbox.
hyperPad only supports Bitmap Fonts (BMFonts). Like Sprite Sheets, BMFonts are comprised of 2 parts. The font image (PNG), and the metadata file (FNT). All BMFonts must include a PNG and FNT sharing the same name. e. MyFont.PNG and MyFont.FNT.
Unlike other image based assets, BMFonts will not generate an SD (Non Retina) resolution version. If you want to support Retina and Non Retina, you must create your own HD and SD versions. Retina Graphics are typically 2X the size. For a Retina HD version you must use the following naming convention: MyFont-hd.PNG MyFont.PNG, MyFont-hd.FNT, and MyFont.FNT. Notice that the retina version has an "hd" added to the filename. Additionally, the hd is case sensitive. You must use a lowercase "hd" at the end of your name.
You can use tools like "bmGlyph" to generate compatible BMfronts from existing fonts. You can also use any other tool capable of creating a BMfont that is compatible with "Cocos2D".
hyperPad can playback all audio formats supported by iOS. This includes MP3, MP4, M4A, M4R, WAV, PCM, AIFF, and more. For a full list see Apples iOS Developer Library.
Note that if you're using the import functionality of the Asset Library, the audio file will be converted to M4A. If you wish to keep the original file format, then you must "Link With Dropbox", and add your audio through a dropbox app, web browser, or desktop computer. See "Importing Assets" for more info on importing and linking with Dropbox.
This part will cover the different ways of importing assets into hyperPad. To view the different types of assets you can import – keep scrolling!
The quickest way to import, is by launching the Asset Library and choosing the "Import" option from the left menu. This will prompt you to choose the type of asset you want to import.
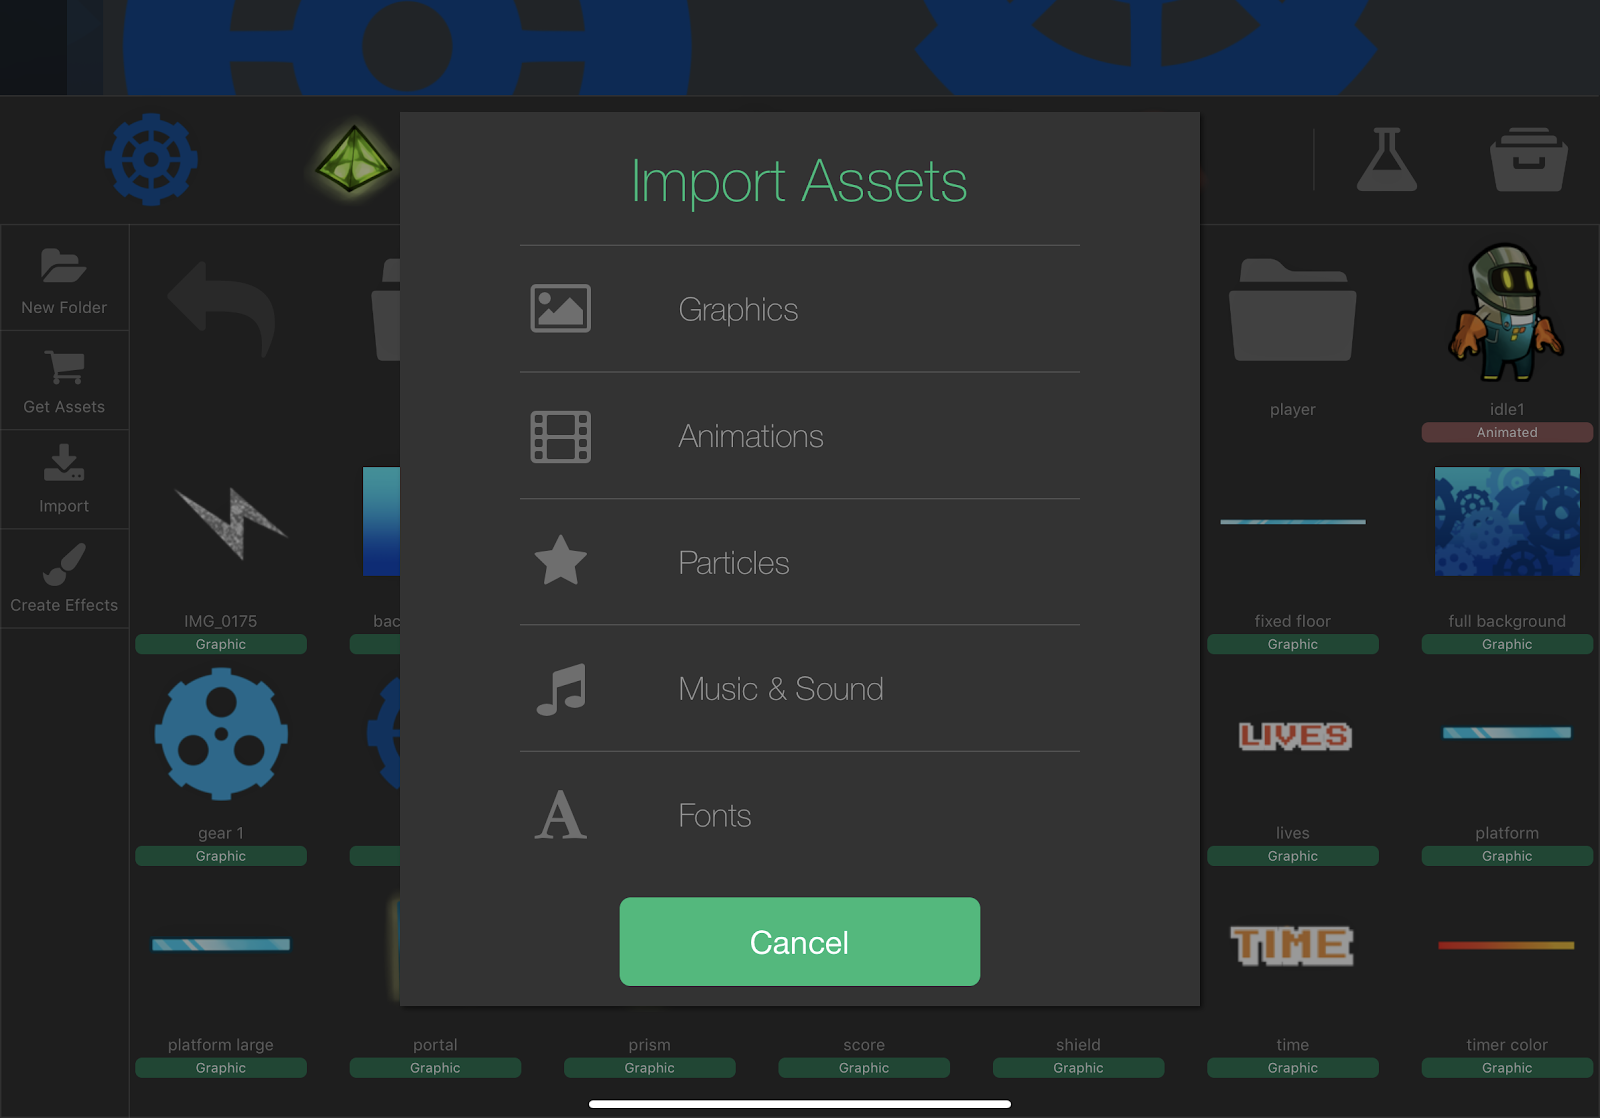
If you want to import just a standard graphic with no animations select the graphics option from the import pop up.
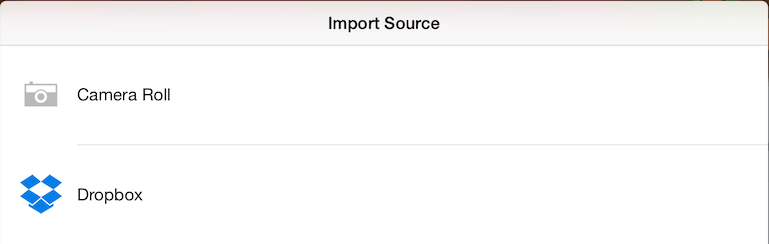
You will then be prompted with available sources to import from.
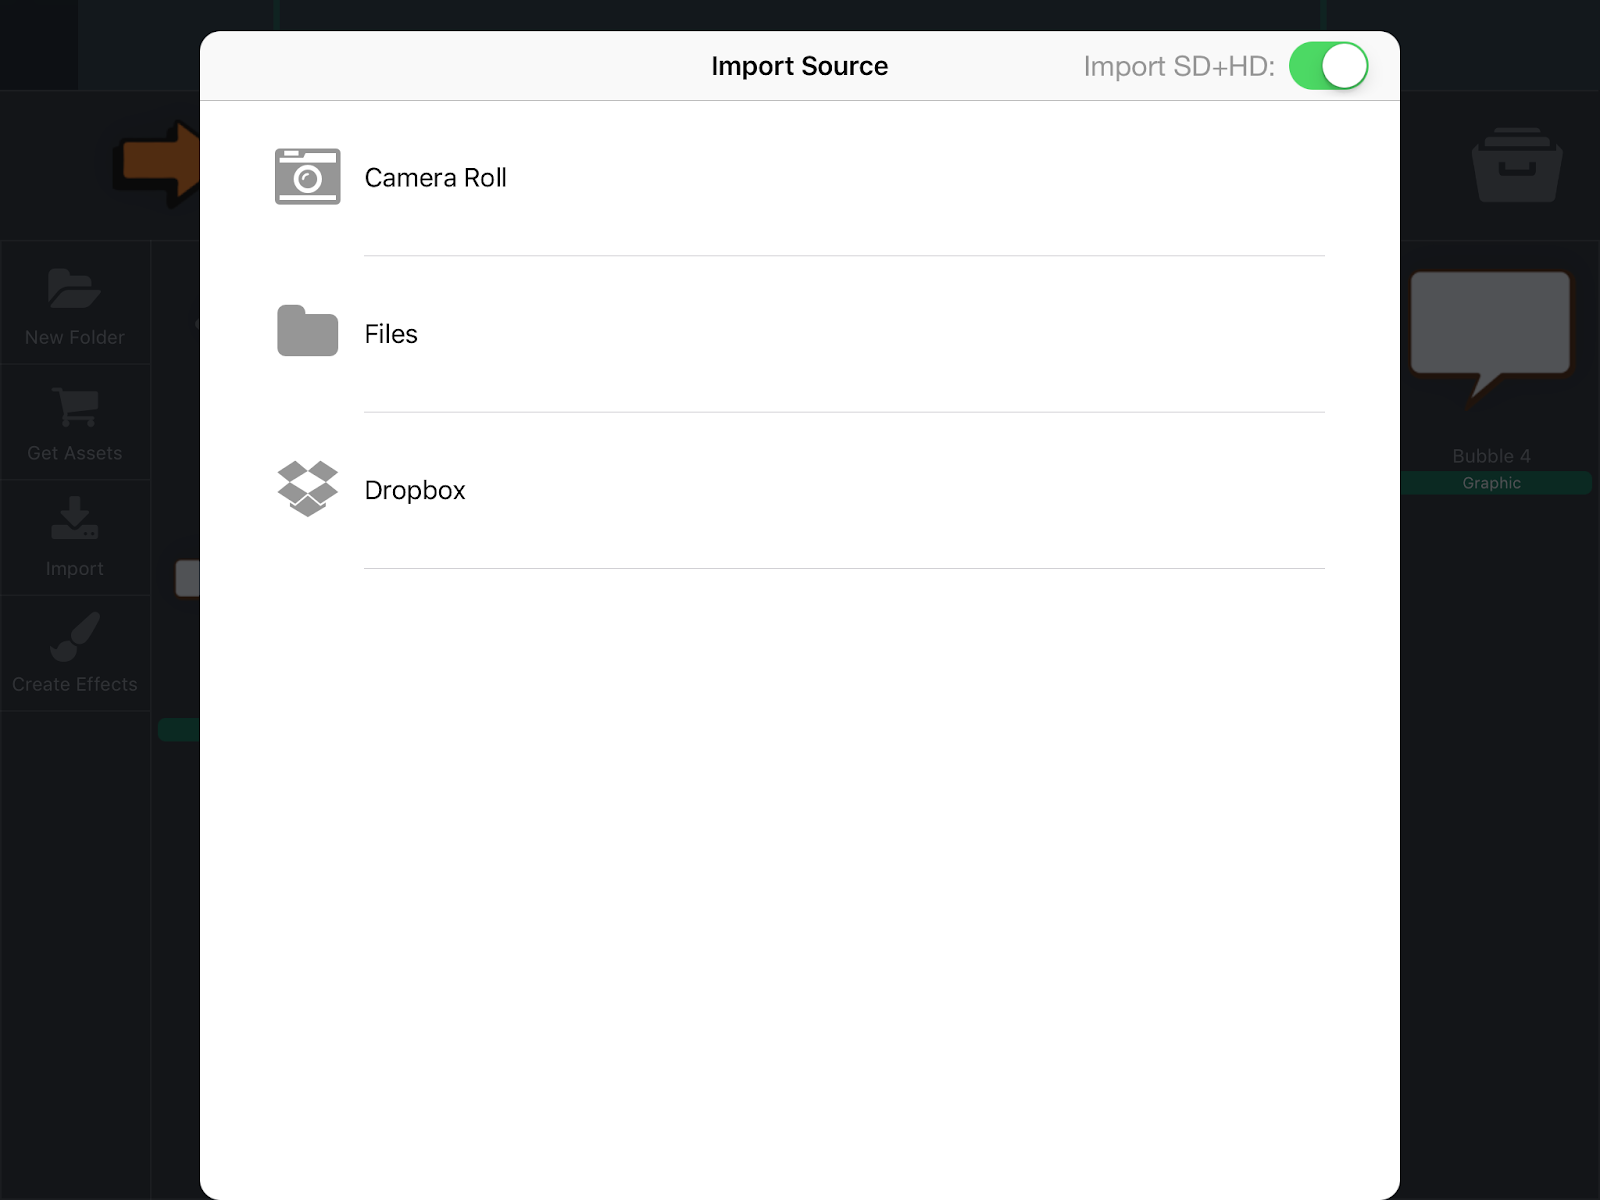
Camera Roll will import images directly from the device image library (in the Photos app).This includes any pictures you take with the camera, import from 3rd party apps, or downloaded through the web browser.
Files allows you to access the "files" app and use that to browse for graphics. The files App also gives you access to iCloud drive, and other 3rd party sources that integrate with Apples Files app. (like Dropbox, google drive, and Skydrive)
Dropbox gives you access to your dropbox library. To use Dropbvox with hyperPad you first need to link your account and give hyperPad permission to access your files. This will automatically be prompted the first time you try and import from dropbox.
Once you select a source, you will be be able to navigate with the file browser and find the image that you want to import.
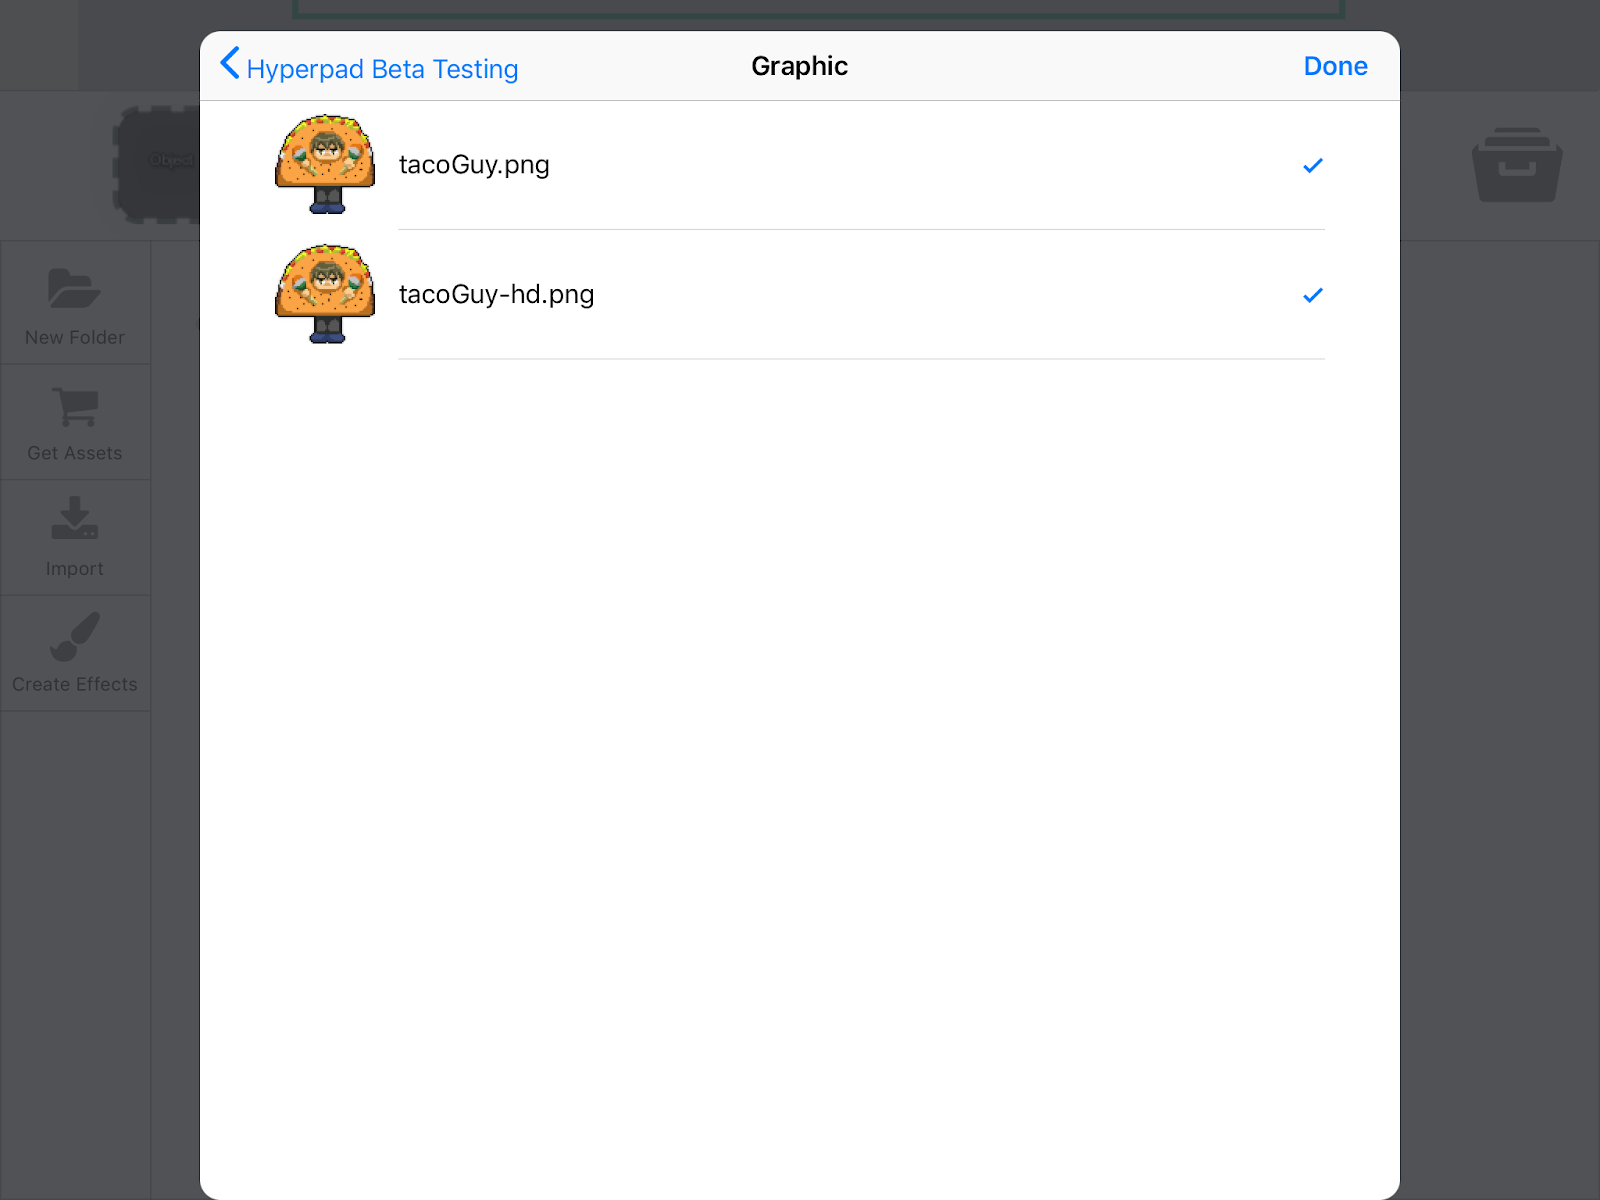
You will probably notice the Import SD+HD toggle in the top right of the import window. By default, this is turned off. While it is off, you do not need to worry needing separate standard and high definition resolution for the images you import. With this toggle off hyperPad assumes all images imported are "HD". Simply import a high quality image and hyperPad will automatically create the standard definition for you. This means that, when your app is used on a different device (such as older apple devices that do not have retina displays) it will automatically use the lower quality images.
If, however, you wish to add the dual resolution images yourself, you can turn on the toggle switch. With the switch toggled on, you will need to have the image in two different resolutions (Eg. 1024X 1024 for SD and 2048x2048 for HD). The HD image filename must also end with “-hd”.
Note: Please remember that the maximum image size hyperPad allows is 2048x2048. When importing graphics, hyperPad can use any image file compatible with iOS. The suggested format for graphics is PNG since it also can handle transparent graphics.
With hyperPad you can create objects with custom animations. You have two choices when it comes to animations. You can import animations as individual frames, or a complete sprite sheet.
You can create an animation cycle by importing a sequence of individual frame images.
To start, you must import your first frame or an image to represent your object from the "Asset Library" (See Importing Assets). Once you have imported your object, tap and hold your finger on the object you ant to add animations to, this will bring up the Asset Menu.
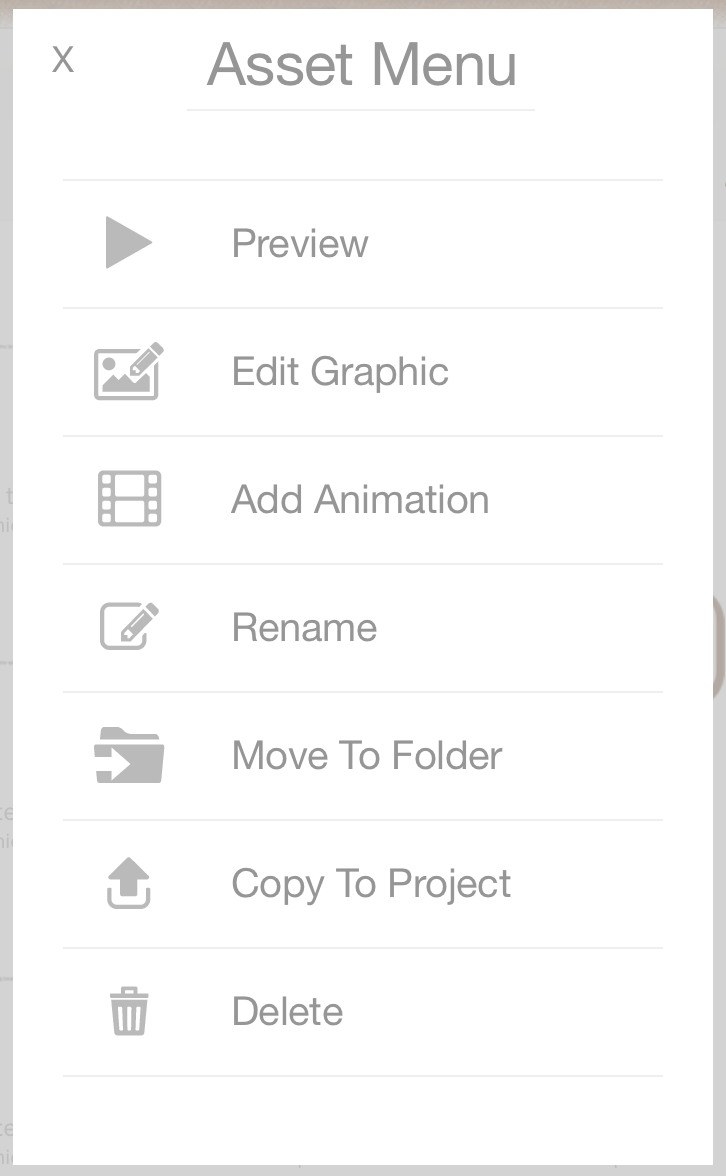
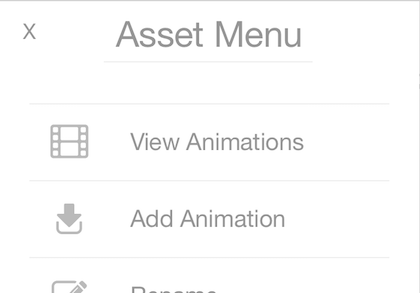
From the Asset Menu select "Add Animation", this pops up with the option of importing from Camera Roll, or Dropbox. See "Importing Assets" for more details on these options.

Once you have selected your desired import source, you can select all the frames of the animation, then tap "Done" in the top right corner to continue importing these frames.
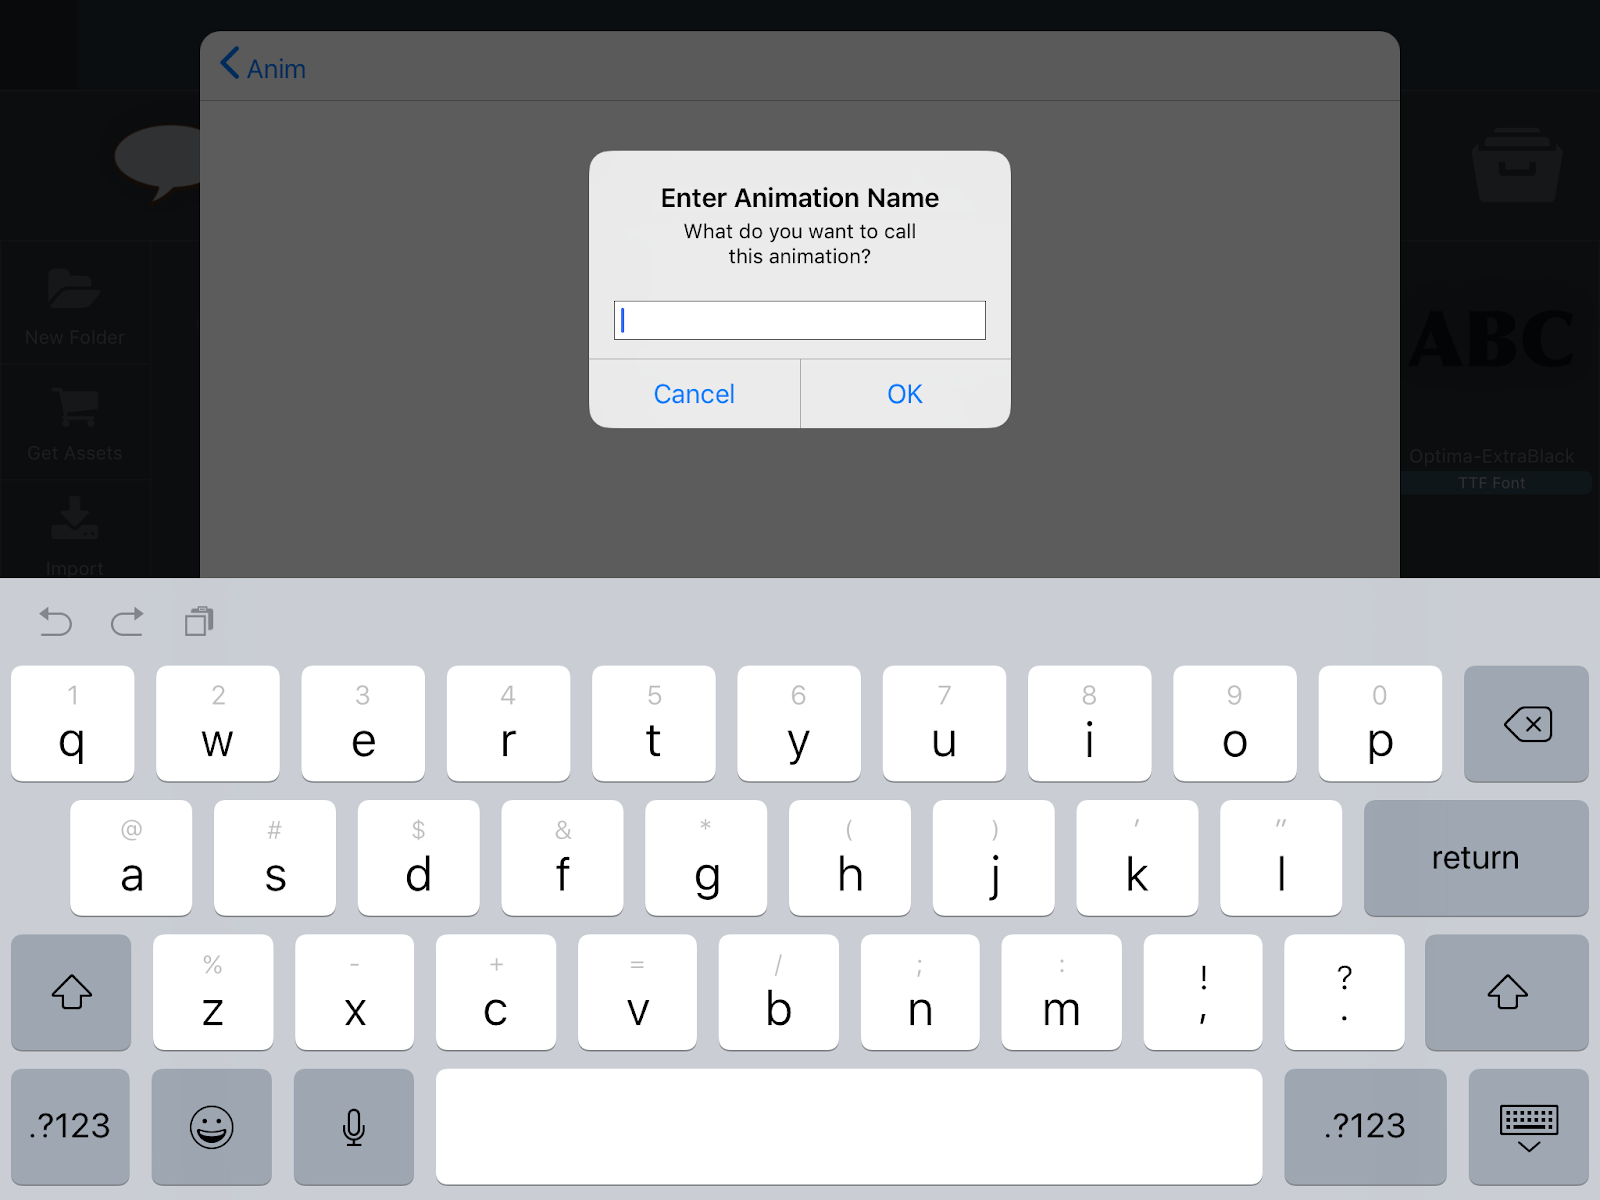
You will then be asked to enter a name of the animation cycle.

Once you have entered the name of the cycle, hyperPad will create a sprite sheet with all of the animation cycles for that asset (including the original asset graphic). Keep in mind, that hyperPad will only generate a sprite sheet with a max resolution of 2048x2048 pixels. This means that the total size for every frame imported (including the original asset) can not exceed the max sprite sheet size.
If you're dealing with larger images, lots of animation frames, or both. You're probably going to run into an error saying you've exceeded the maximum sprite sheet size. If you're adamant on using such large graphics then there are a couple of ways around this.
1) Break up your animation sequences across multiple objects. Each will end up having their own 2048x2048 sprite sheet. So have a "walk" object, have a "Jump" object, etc. Where each object stores the animation cycle (or multiple cycles). This way you generate multiple 2048x2048 sprite sheets.
2) Don't import them as animation cycles. Simply import each animation frame as their own image. Then use the Play Animation behaviour and add each frame manually to the animation timeline in the behaviour properties.
You can create custom sprite sheets and import them into hyperPad by linking your project with Dropbox. To learn more about linking your project with Dropbox, see "Importing Assets".
To create custom sprite sheets, you can use any tool that is capable of creating a "Cocos2D" compatible sprite sheet. All sprite sheets must have a paired PLIST file containing the sprite sheet metadata. You can see the help article "Supported Asset Types" to learn more compatible sprite sheets.
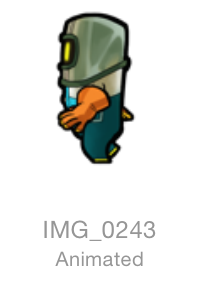
If your asset has animations, it will be labeled in the "Asset Library" as an "Animated" asset.
To preview an asset's animations, open the "Asset Menu" by tapping and holding your finger on the animated asset then select "View Animations".
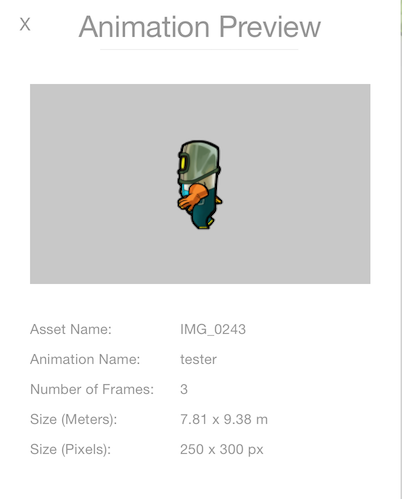
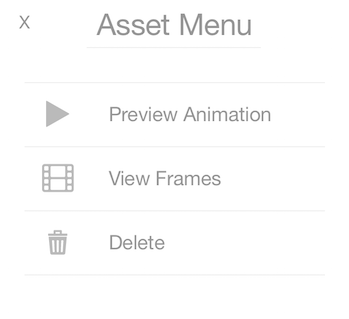
From here, you can bring up the "Asset Menu" again, and select "Preview Animation". The popup window will play the animation, and also show you useful information.
If you tap and hold your finger on an animation cycle, it will open the Asset Menu allowing you to view the individual frames for that cycle.
You can add an animated asset right to the canvas, or use the "Play Animation" behavior to run an animation on demand.
To add an animated asset directly on the canvas, launch the "Asset Library" and view the animated asset's animations. If you select an animation cycle, it will be added to the "Dock" allowing you to drag it right into your scene.
When you add an animation cycle to the canvas, it will create an object and automatically add the "Play Animation" behavior to it. If you need to change the animation playback settings for that object, you can do so from the Behaviors' of the object.
If you need to play an animation on an event, like when a user presses a button or moves a joystick, then you can use the "Play Animation" behavior.
Start by adding an animated asset to the canvas. Then select the object and launch the "Behavior Editor" from the "Object Properties".
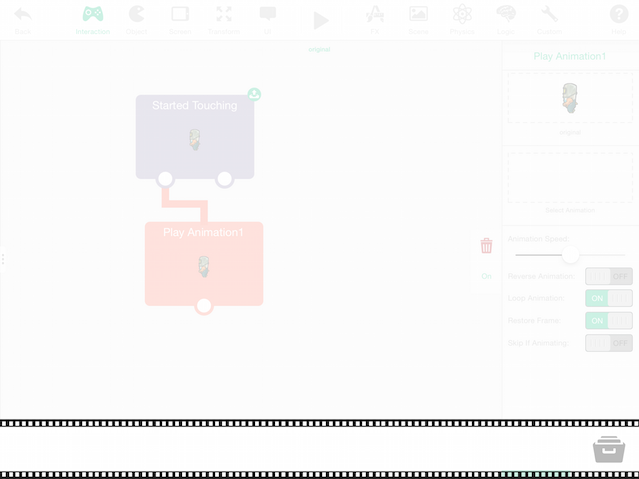
In this example, we'll make the object play an animation when it is pressed. Start by adding the "Started Touching" behavior.
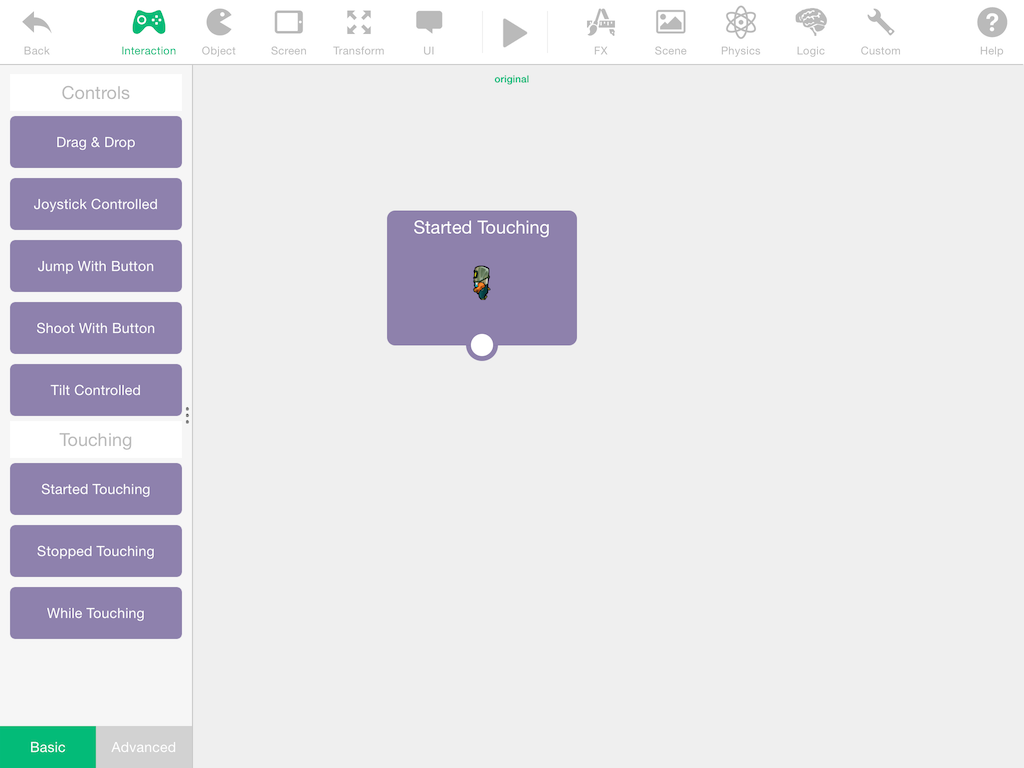
Next Add the "Play Animation" behavior from the FX category, and connect it to the "Started Touching" behavior you previously added.
Once it is connected, tap the "Play Animation" behavior to view the "Behavior Properties". From the behavior properties you can change which object to animate, what animation to play, and other various parameters that effect the animations playback.
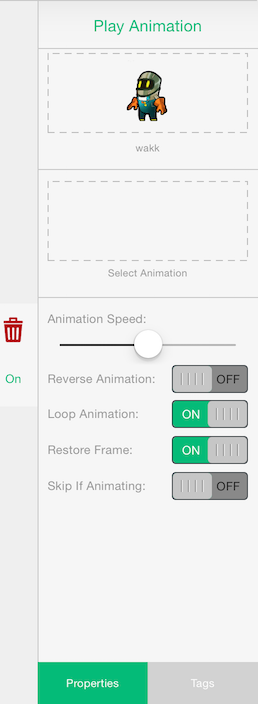
In the behavior properties, tap on the box labeled "Select Animation". This will bring up the animation timeline, allowing you to add frames or an animation cycle.
To add animations to the timeline you can tap the "Asset Library" icon, to open the asset library. Any graphic asset you tap will automatically be selected and added to the timeline.
If you want to add an animation cycle, press and hold on an animated asset to open the "Asset Menu". From the Asset Menu, select "View Animations". The Asset Library will now show you all the animation cycles you have previously added to the asset. Tapping a cycle will add it to the timeline.
Once you're finished adding animations to the timeline you can tap on the behaviour screen to close the timeline and return to the behaviour editor.
If you press "Play", the object will only animate once you touch it.
This first method of importing animations, will create an animation sequence for you while importing each animation frame.
Select Create Animation. This will open the Import Source Window. Here you can select from the available sources for your imports; Camera Roll, Files and Dropbox.
Note: This method does not have the import SD+HD toggle. This is because when using this method to import the animation frames, hyperPad will automatically create a sprite sheet in HD and SD for you.
So make sure each image frame is the highest resolution you have, and that each frame is the exact same size with the object centred. If the object is not centred and each frame is a different size your animation will not play correctly.
Also, make sure that the total combined frames do not exceed 2048x2048 pixels. This means if you have a 16 frame animation, each frame graphic can not exceed 128*128 pixels.
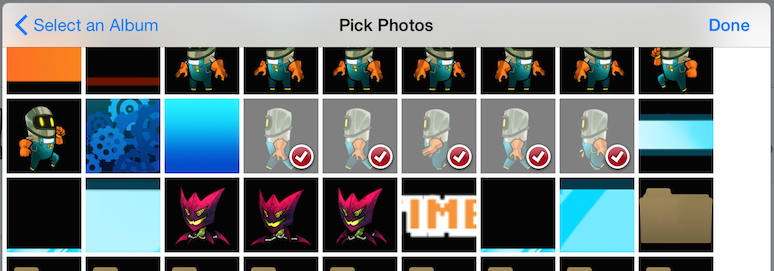
After selecting where you wish to import your images from, navigate to the folder where you have the images saved and open it. There, you can select the images you want by tapping them.
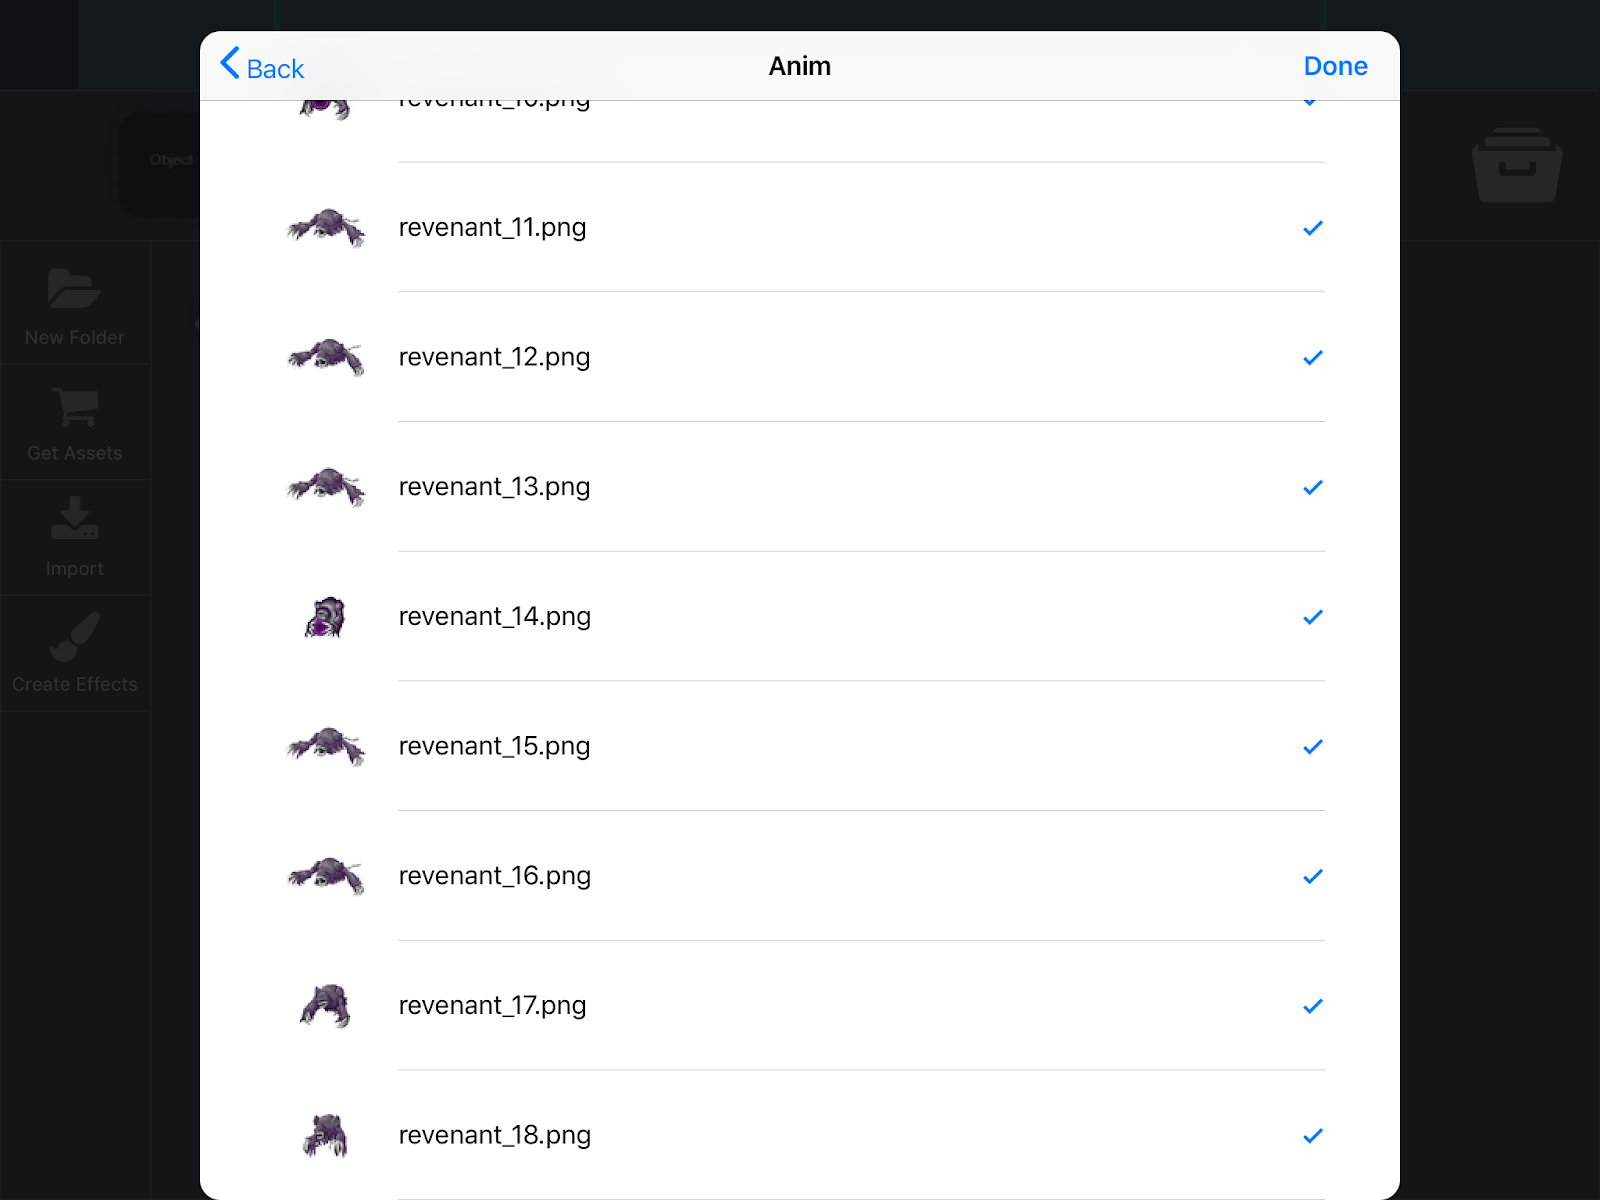
Now, select each image, make sure they're named properly so they'll import in the correct order. These images will become our frames of the animation. Once they are selected, tap done to import. You will be prompted to name the animation once the import completes.
You can preview the animation to make sure it works correctly, by tapping and holding your finger on the newly created animated asset in the library. This will open the Asset Menu. Select Preview animation to play the animation sequence.

In hyperPad there are 2 main methods of importing animations. 1) Create animations on import, and 2) Import a spritesheet.
This second method is a bit more complex and relies on other tools. It does usually give the best results. This method requires the creation of a sprite sheet and an accompanying plist data file. Any program that can generate files compatible with Cocos2D will work. We recommend TexturePacker for this. The program can be downloaded for free here: https://www.codeandweb.com/texturepacker
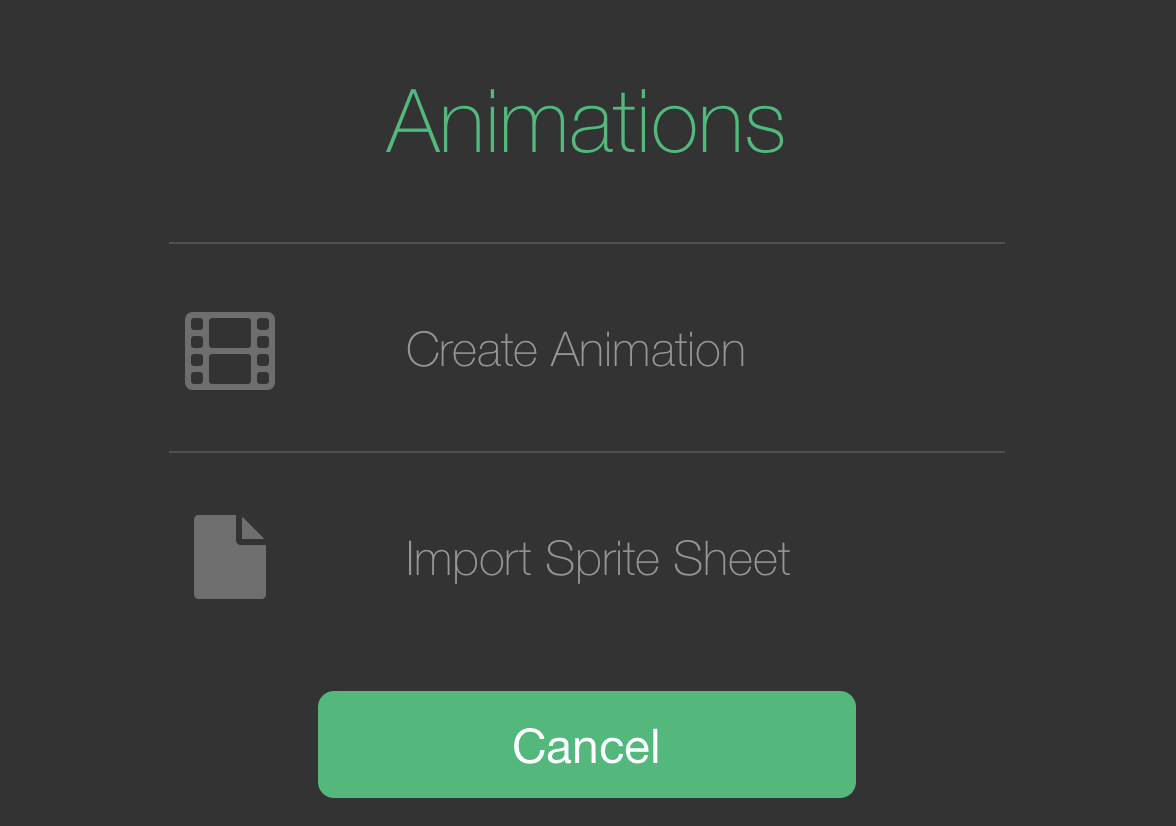
Once your spritesheet and plist data have been created, Select Import Sprite Sheet from the animation import menu.
As with other assets, you're then prompted with a source to import from. Notice for sprite sheets you can not import from the Camera roll. This is because Sprite sheets require a PLIST data file along side the sprite sheet image.
Select your desired source and navigate to where you have the files stored.
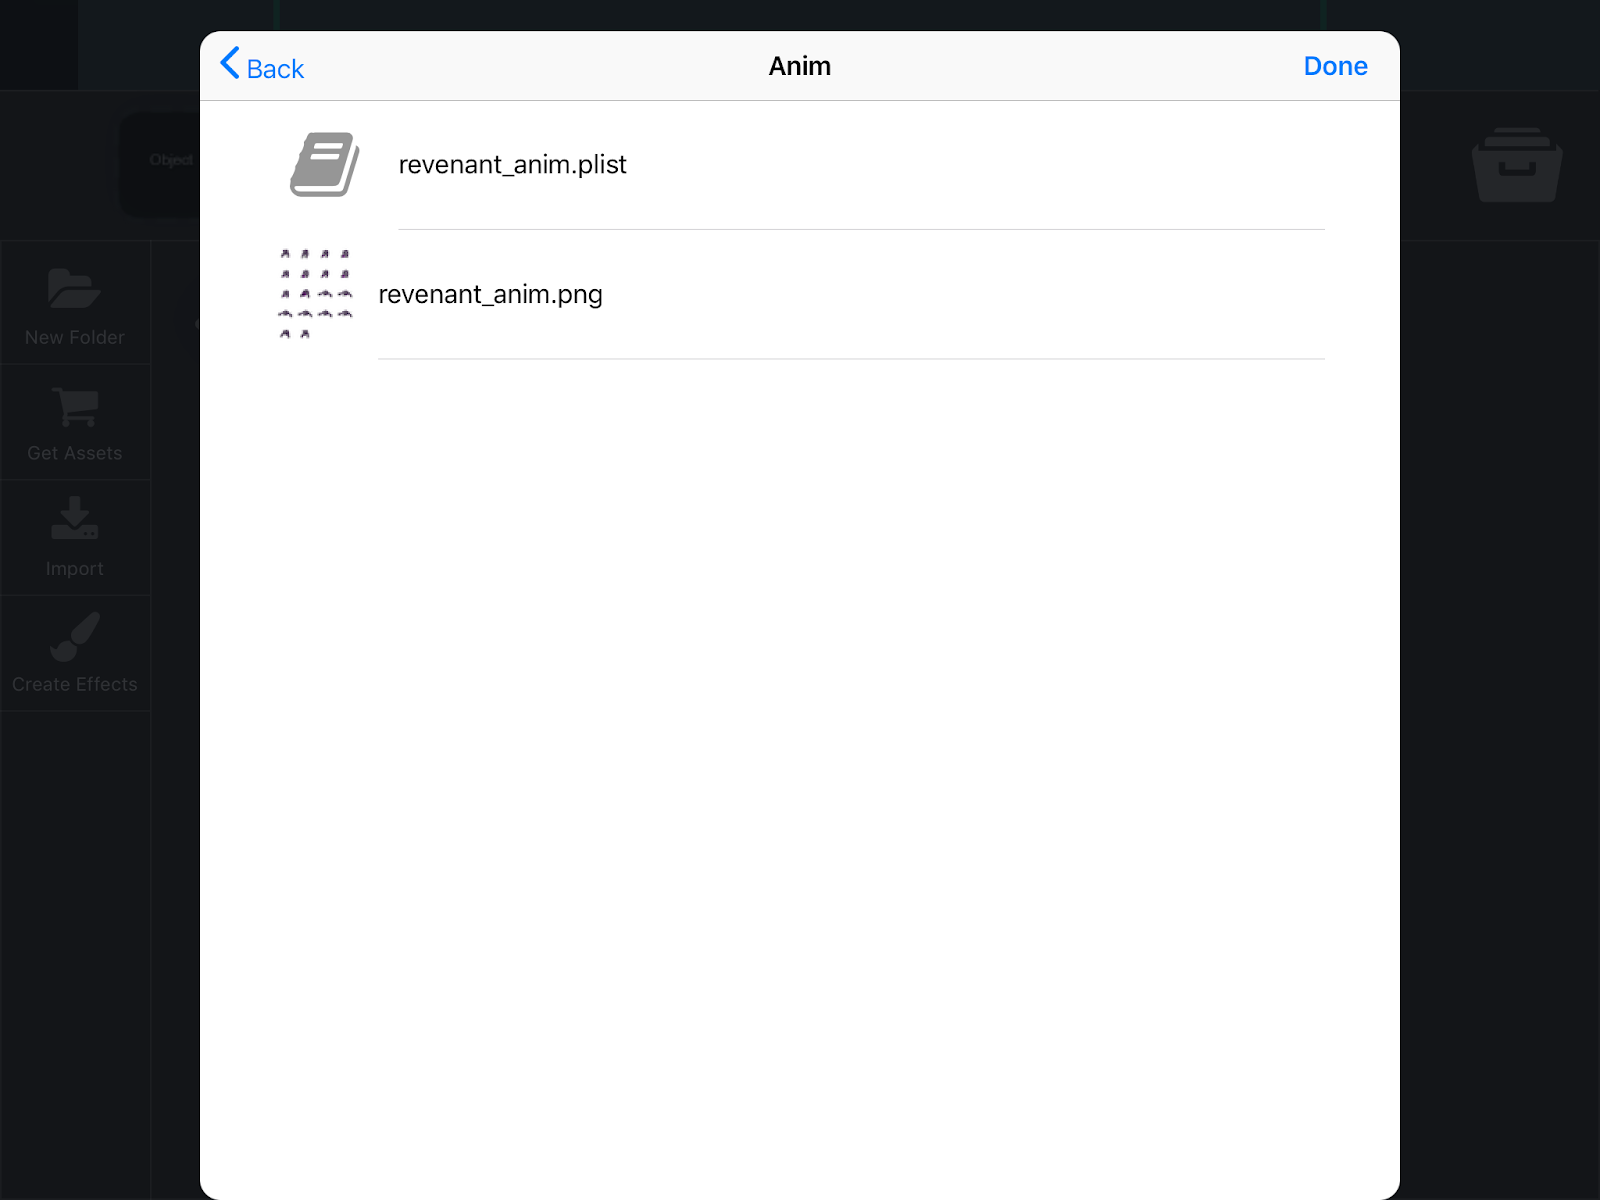
Once you've found your files, simply tap them to select them then tap done in the top right corner to begin importing.
Note: You must select both the sprite sheet image and the plist data file or you will receive an error. Also if the Import SD+HD toggle is on, you must select 4 files. An SD and HD image, and an SD and HD Plist file.
Importing particles works the same way as importing a sprite sheet animation. Like sprite sheets, particles are comprised of 2 files. You have your particle graphic and a PLIST meta data file that contains the particle effects parameters. So when selecting and importing your particle effect you must select both files. Keep in mind, particles can be quite resource intensive so your particle graphic should be relatively small. We typically suggest not going over 64x64 pixles for an HD particle.
Once again, similar to graphics and animations the SD+HD toggle exists.
You can use any particle creation app that will export a Cocos2D compatible particle system.
Importing sounds and music into hyperPad is quite simple. Open the Import Assets menu and this time, select Music & Sound for the options of asset types to import.
From here, you can import audio files from your iTunes library, Files app and Dropbox.
Once you have selected your import source, simply navigate to the audio files you wish to import, select them and tap done. As before, you can import multiple files at once.
hyperPad can play all audio formats supported by iOS. For a full list of compatible files, check the iOS Developer Library here.
With fonts there are two options. BMFonts and TTF fonts.
BM Font stands for Bitmap font. BMFonts, typically have a lower quality but offer performance benefits. BMFonts are great for situations where you have a lot of objects on screen and in situations where your text is constantly changing. Similar to Particles and spritesheet animations, BMFonts require a PNG (with every character), and a FNT data file. hyperPad can support any BMFont generator that works with cocos2D. One example is BMGlyph.
When importing BM fonts, you can only import from Dropbox. So make sure you have a dropbox account linked and open it. Navigate to where you have your font files saved.
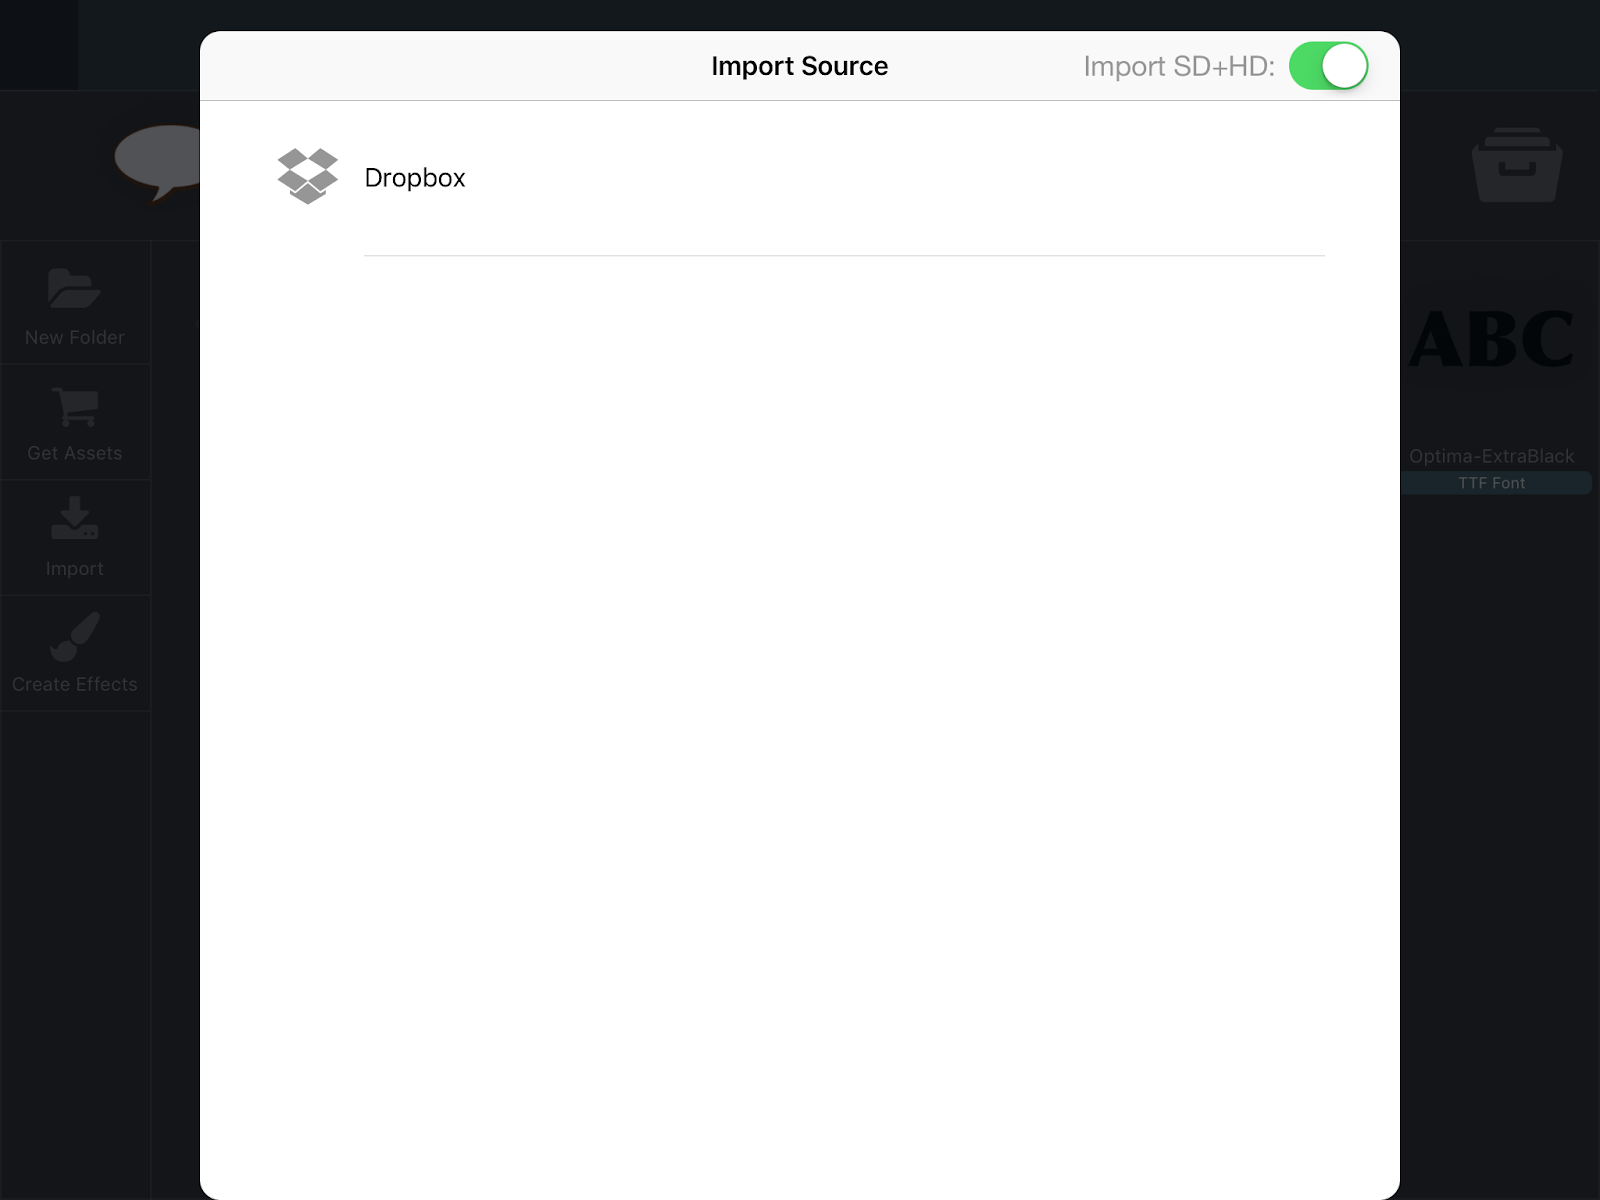
Navigate to where your bmfont files are stores, then select the files and tap done (note, the image below shows 4 four files selected because the SD/HD toggle is active).

TTF stands for True Type Font and is the most common format and when downloading fonts online will likely be the file type that you receive. TTF Fonts have a much higher quality and have no pixelation when being displayed on any device. However, this higher quality comes at a performance cost. TTF Fonts are often used for situation when there are small amounts of text, like labels. Unlike BMFonts, there is only a single ttf file to deal with.
Importing TTF type fonts is a similar process to other assets, however you have a few more import sources.
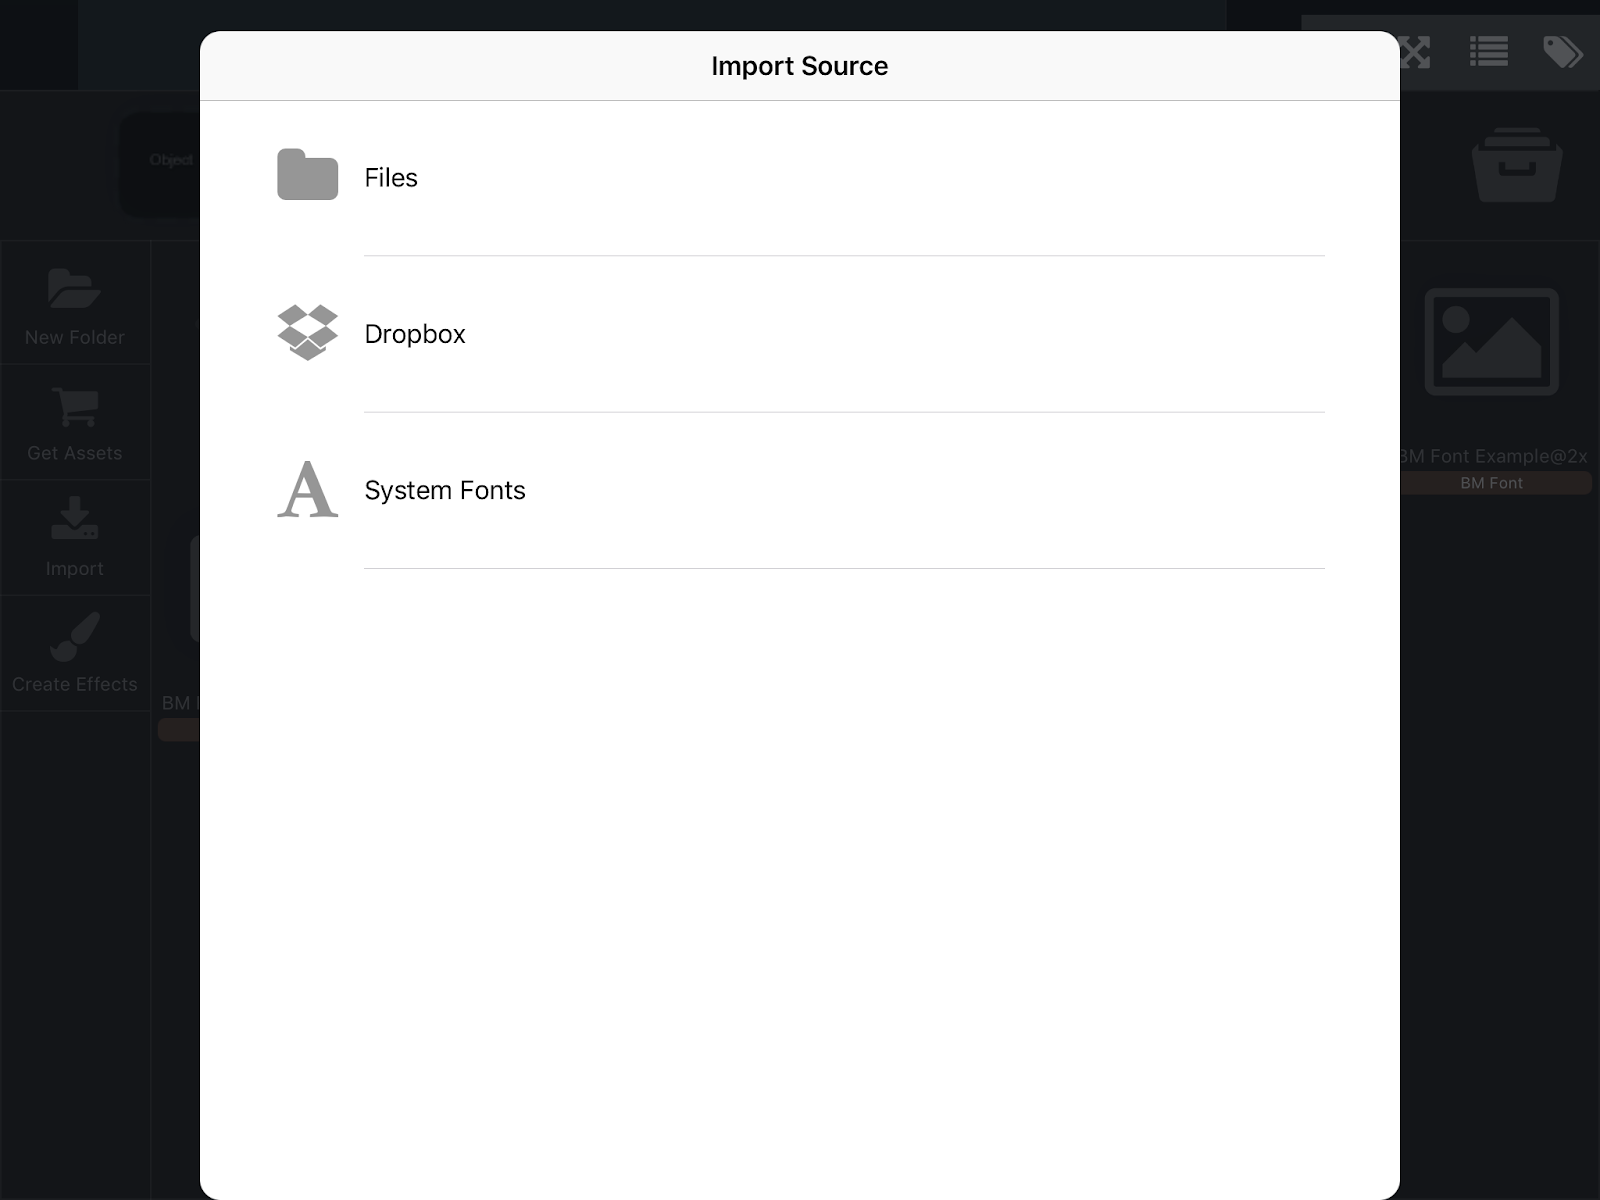
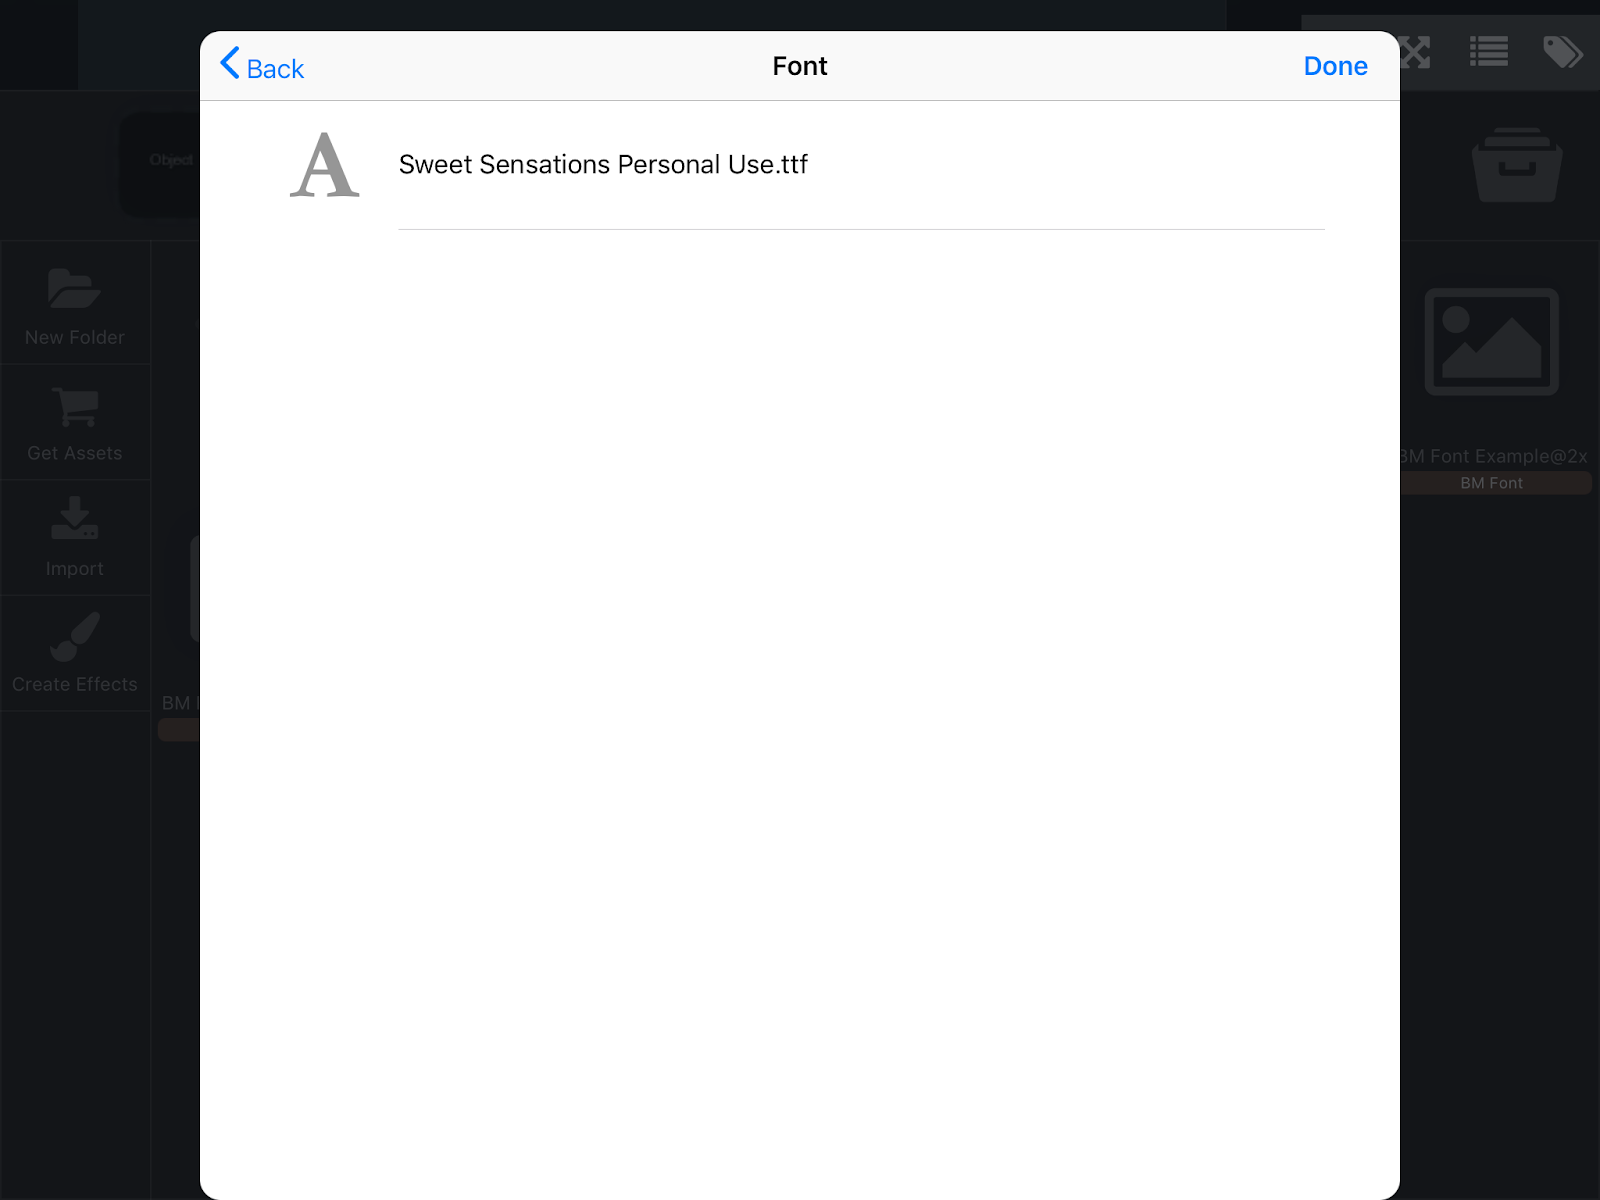
Importing a font from Dropbox or Files app is similar to other assets. Simply navigate to where the font is located it and select it.
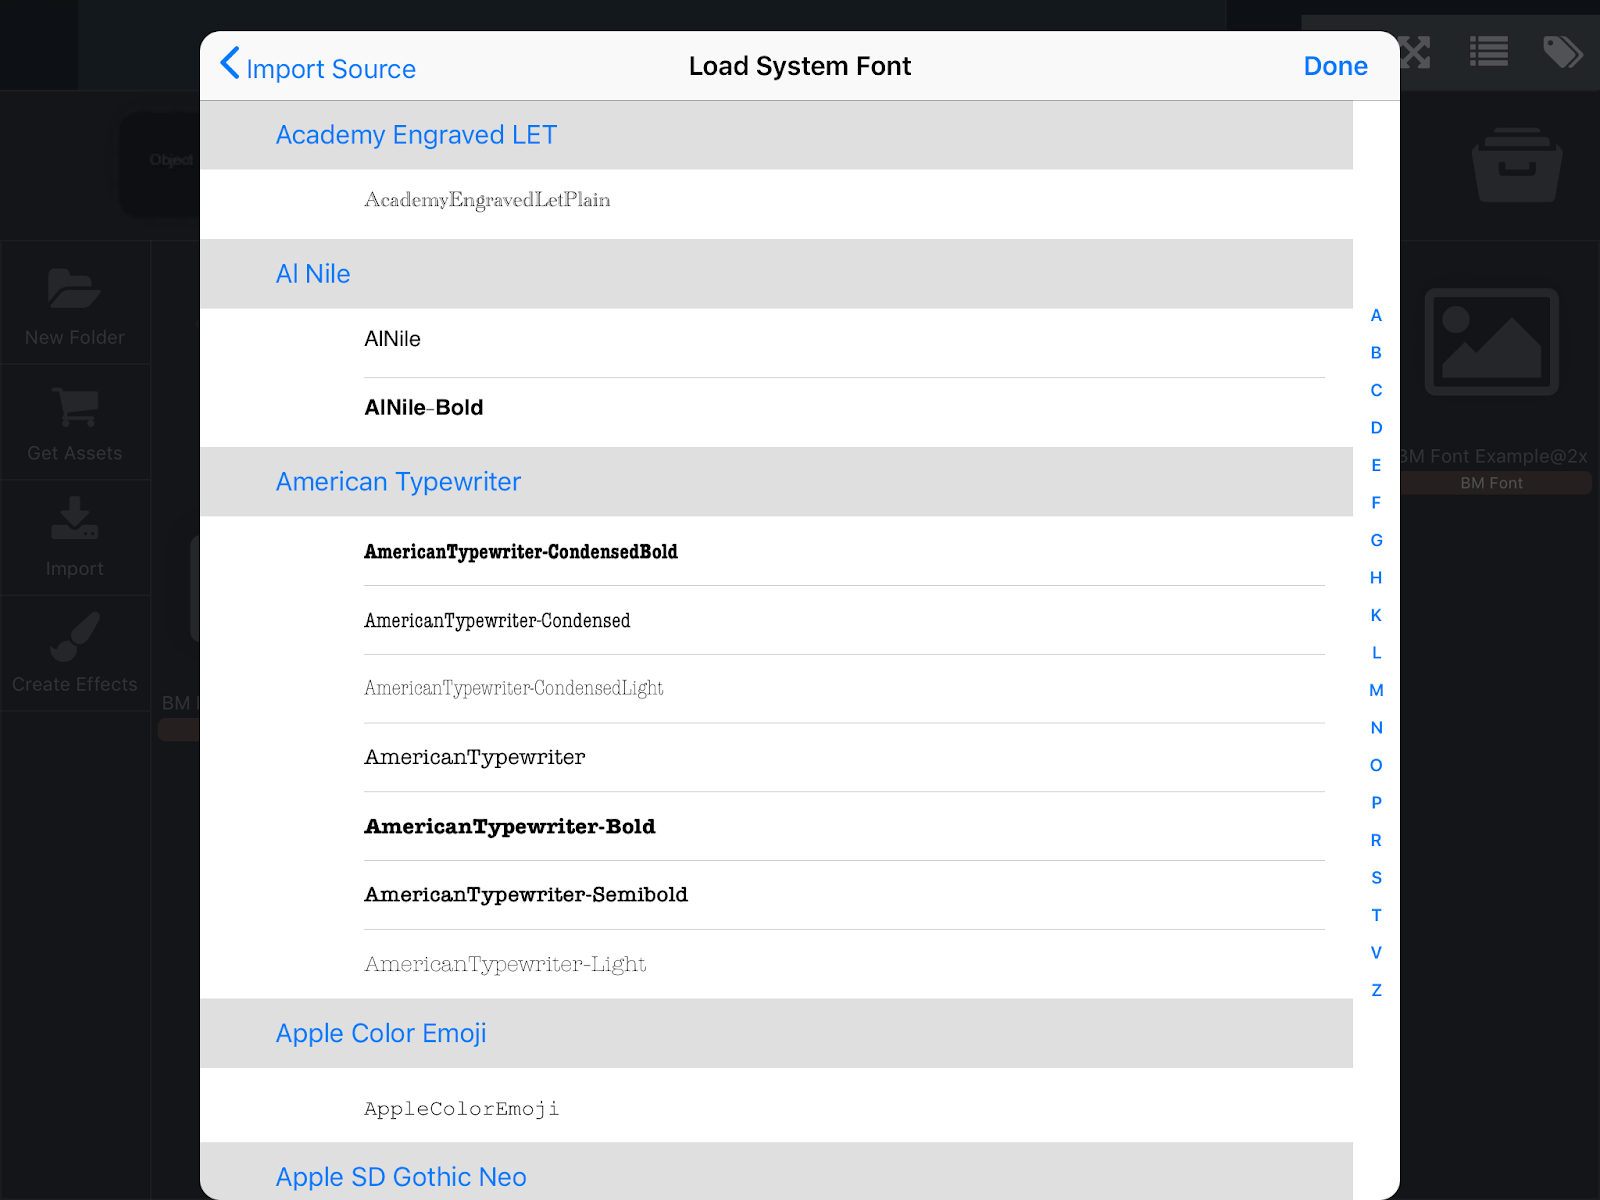
hyperPad is also capable of accessing the System Fonts included part of iOS of your iPad. To import one of these fonts, select System Fonts under the Import Source.
You'll be prompted with a large list of fonts to choose from and they give you a small preview of how they will appear. If you have a specific font in mind, you can jump to it alphabetically by tapping one of the letters to the right. When you find a font you like, simply tap it and then tap done.
hyperPad can import content from 3rd party apps. If you're using an app that can export/share with other apps using the "Open In" dialog, then you can import a compatible asset into hyperPad.
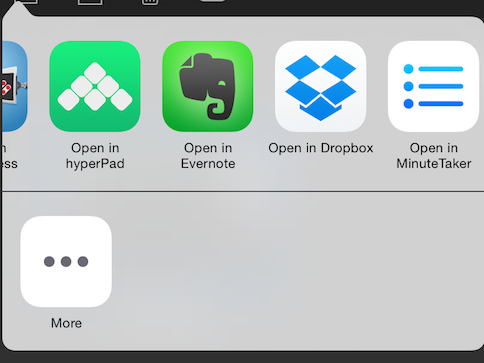
Once you have chosen to export your asset to hypePad, you will be prompted with a window to select which project you want the asset to be imported to.
After the import is successful, your asset will be located in the Asset Library!
WOW. That was a long one. Try it out and let us know your thoughts - tag us on your preferred socials with your demo. We're so excited to hear from you! Have fun creating with hyperPad.
Enter your email to learn about great updates, contests, and new features


